CIRCULAR WARDROBE (PART 4/5): UPCYCLING THE RIGHT WAY
A great way to breathe new life into your wardrobe without having to buy anything new is upcycling - and it doesn't have to be complicated at all. The main thing is to counteract disposable fashion and assume that every item is worth repairing and altering.
A brief explanation at the beginning: recycling is the reuse of objects or materials. A distinction can be made between upcycling and downcycling. In downcycling, materials are returned to their original form, for example fibers, from which a new material can then be made. However, due to the frequency of processing, this material is often (or appears to be) no longer as high quality as it was before and a lot of energy is also used in the manufacturing process.
Upcycling, on the other hand, means that an old product retains its materiality but is modified in such a way that its value increases.
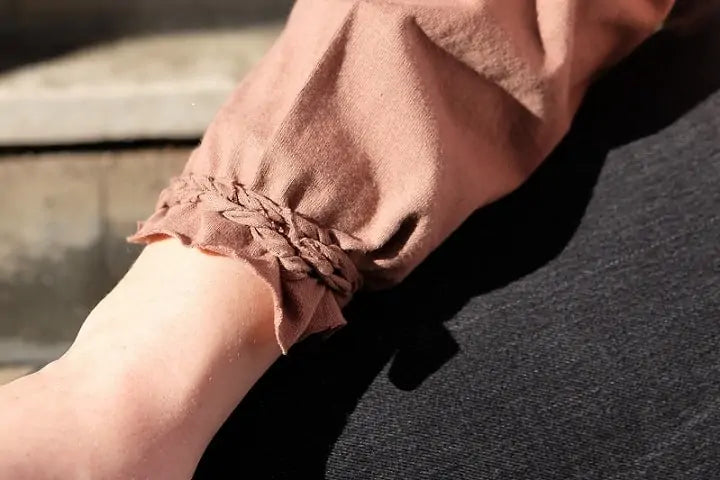
Above all, you need creativity!
You don't necessarily have to be good with a sewing machine to upcycle clothes; there are other options too. We want to give you some examples of all of these in this article.
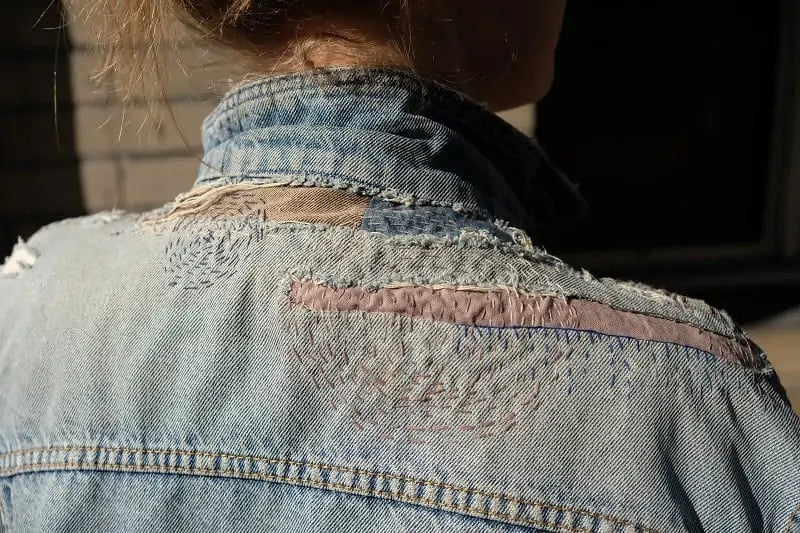
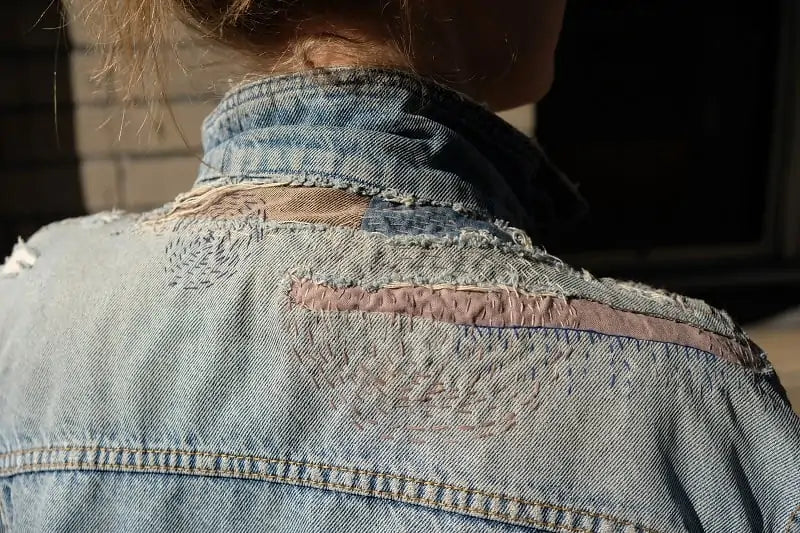
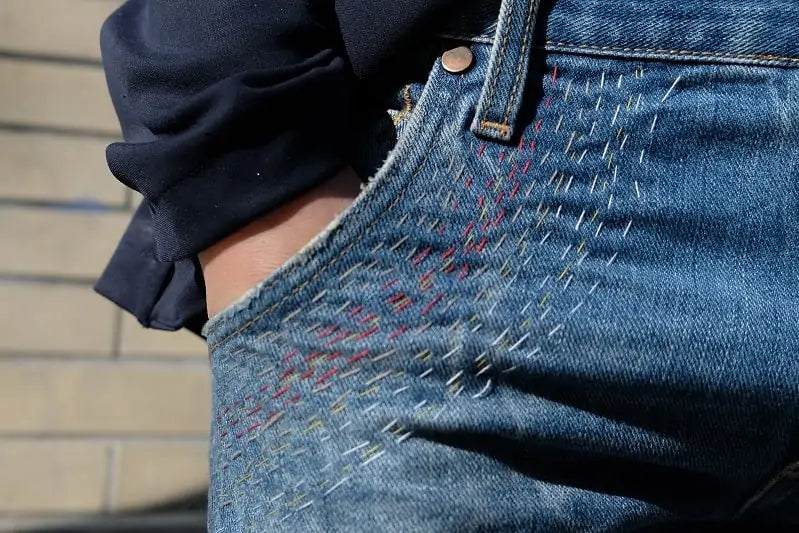
We've all been there - your favorite pair of jeans with the perfect fit has holes in them. Even though some teenagers spend money on this look and buy new, deliberately holey pants, we think that clothes that have really been through the years tell stories. So we don't want to try to patch holes inconspicuously (that never works anyway), but on the contrary, we want to turn the pants into an embroidered work of art in which mistakes are something beautiful. You can also read the ARTICLE about the Japanese textile art "Sashiko".
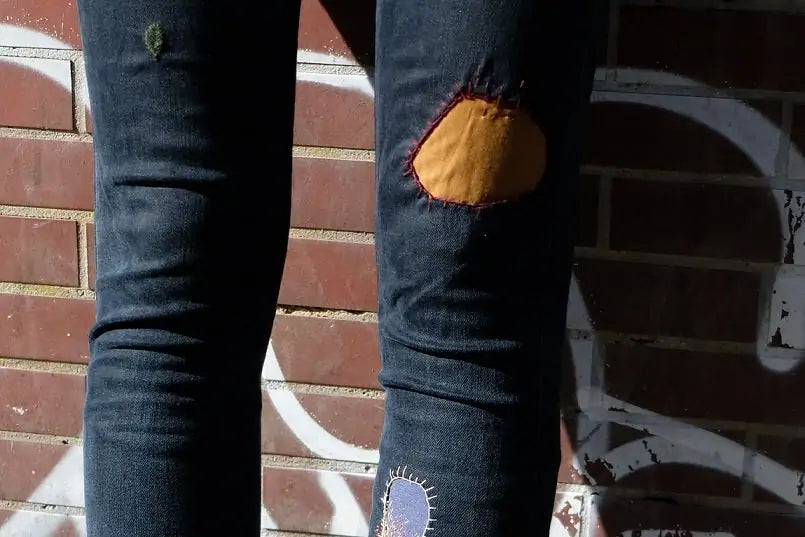
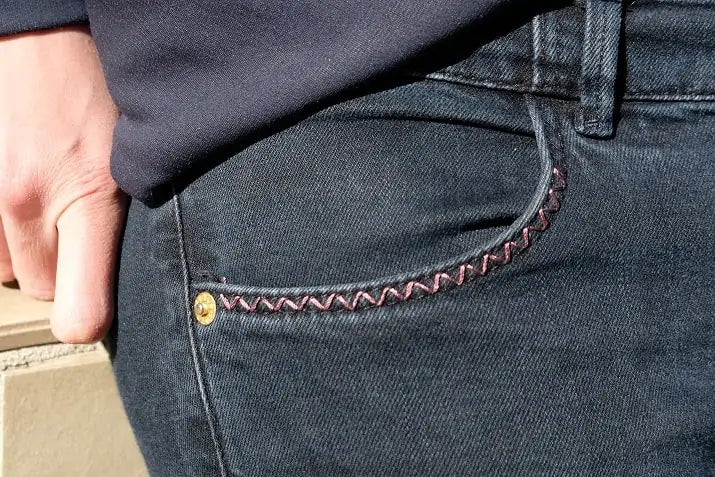
So, how does it work? All you need is a coarse embroidery needle and thick thread; whether you want to use colorful or black and white, it's up to you. Now simply put a cardboard box under the hole in the pants so that you don't sew the trouser legs together. Depending on how big the hole is, it sometimes makes sense to put a piece of fabric on the back of the fabric or to iron it on with an adhesive interfacing (iron-on interfacing). Then you can get started and patch the holes with coarse stitches. For example, you can embroider lines, crosses, stars or simply criss-cross. Alternatively, you can sew on patches, beads or other fabrics. There are no limits to your imagination here.
If you have a sewing machine, you can use patchwork to save your clothes that are too short, too tight or broken.
If you really have enough of a piece of clothing or you no longer like it
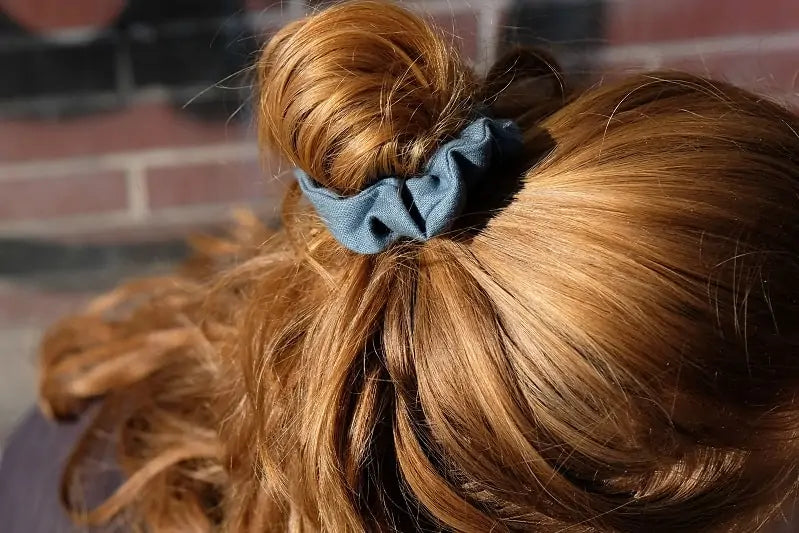
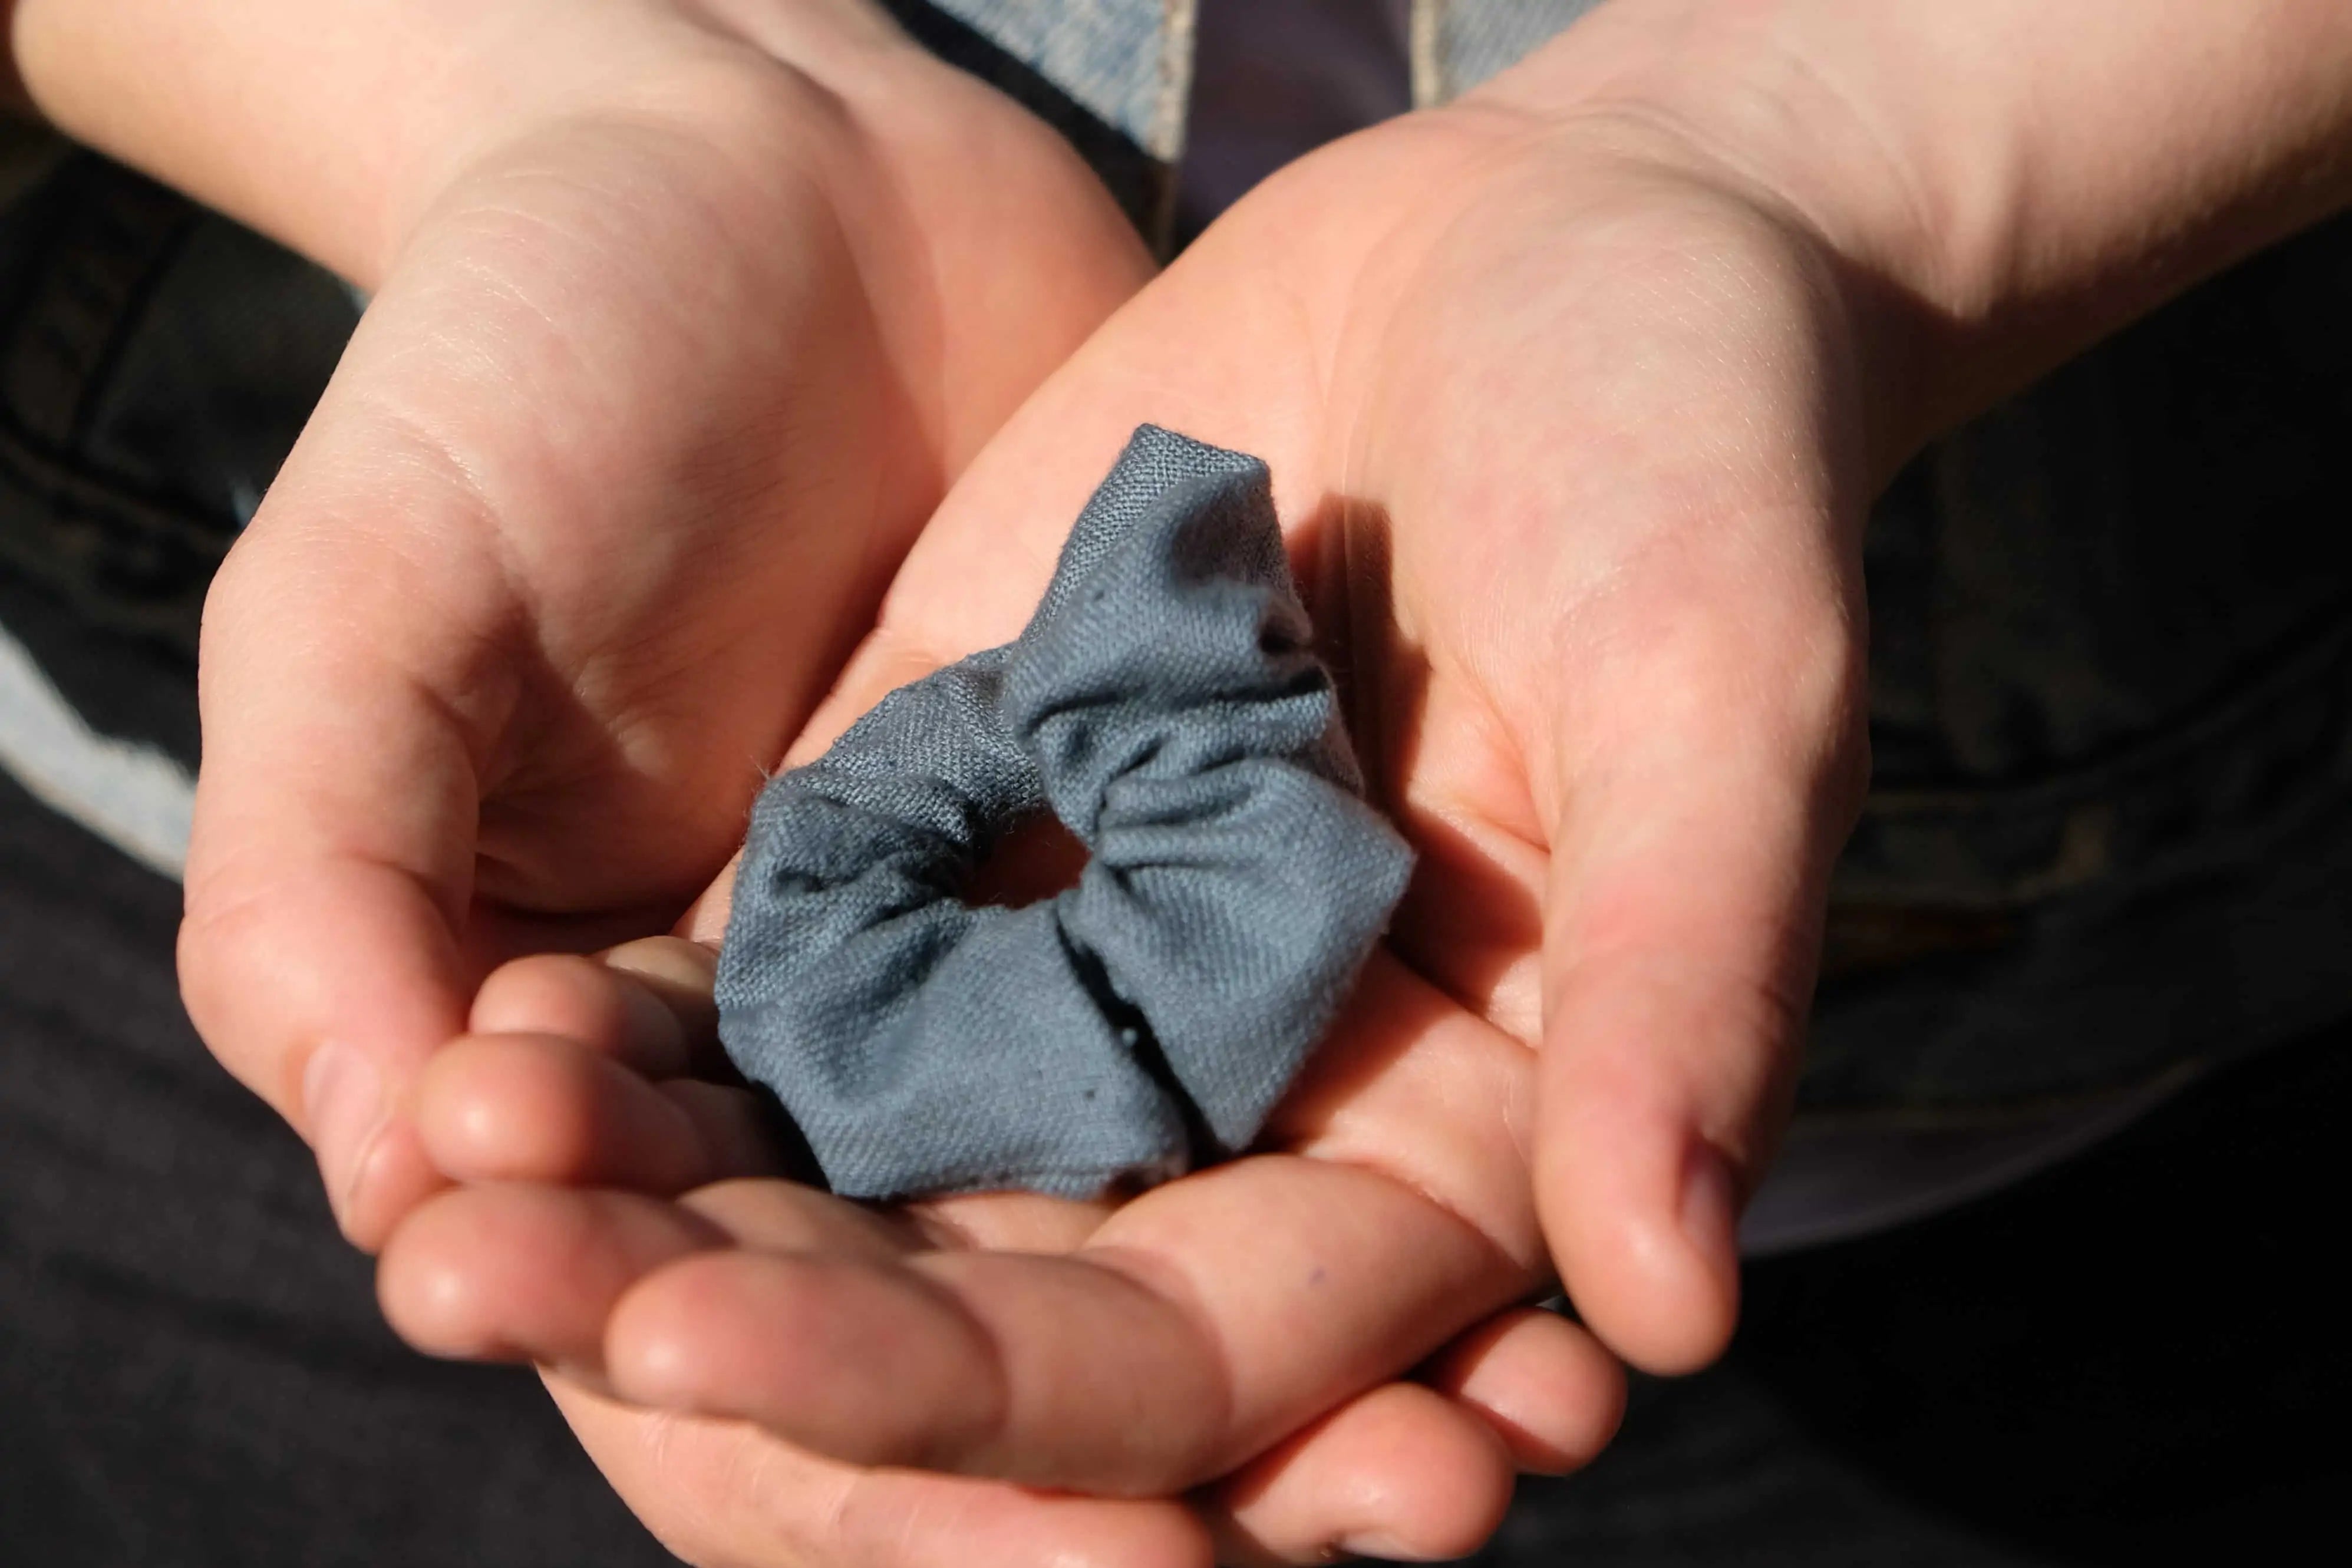
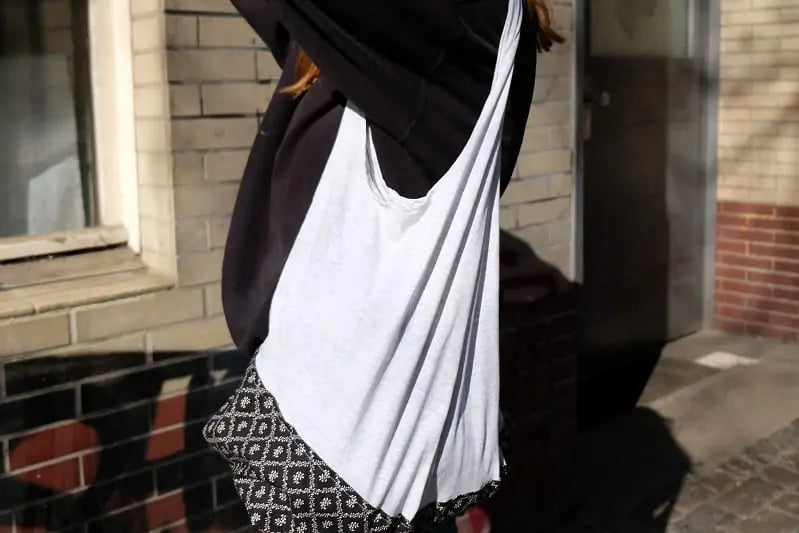
fits, then you can transform it into something completely new. For example, with a few sewing skills you can easily make pillowcases, fabric bags or hair ties out of old T-shirts.
If you don't have any inspiration at the moment, then take a look at these blogs on upcycling:
And here are some step-by-step instructions:
TIP 1: Plug holes
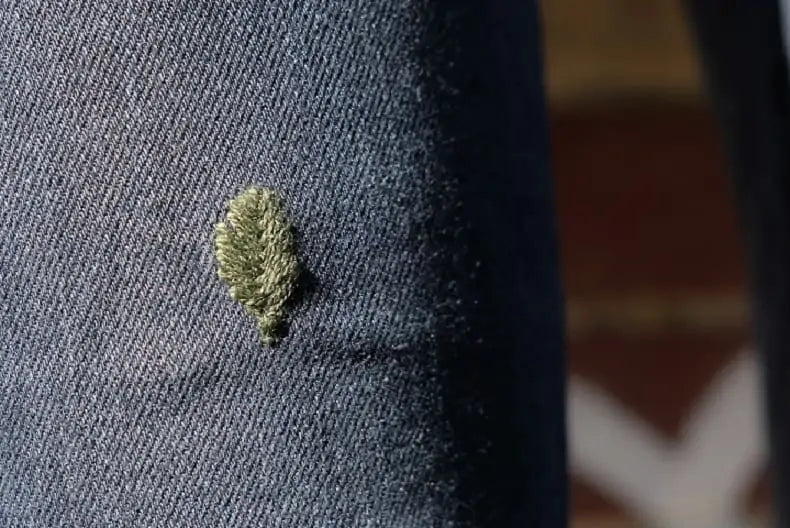
A. Mini holes become mini leaves
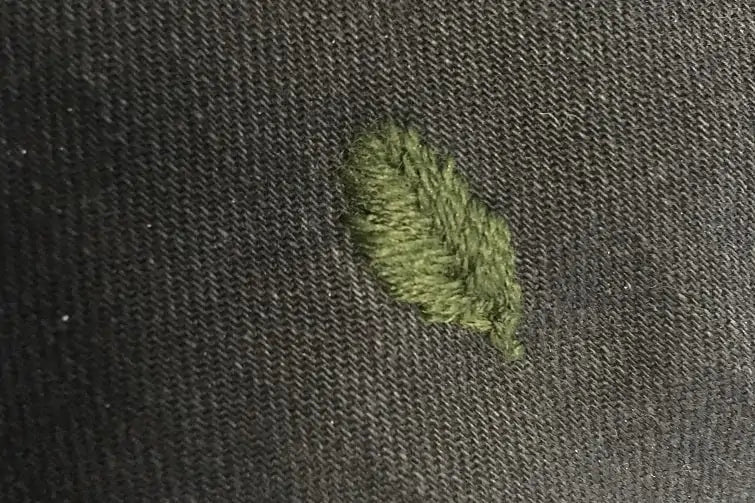
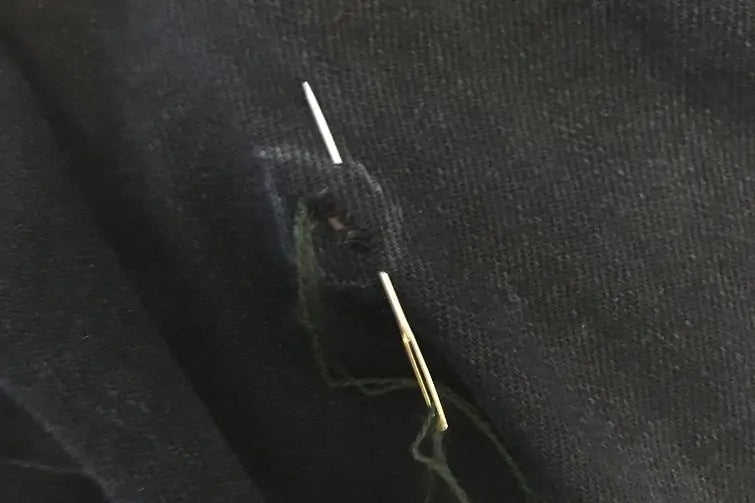
If the holes are small, you can secure them very well with small leaves. You can find a video tutorial for leaves of various types HERE .
The trick is simple: place the leaf in the middle of the hole and embroider around it. Thanks to the many stitches, the hole is guaranteed to be secure, will not get bigger and you will have a beautiful, new mini detail on your pants/shirt/...
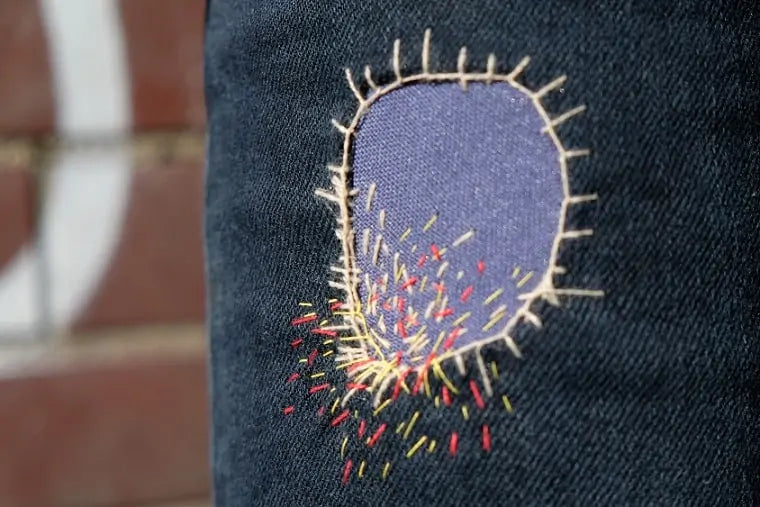
B. Large holes become artsy surfaces
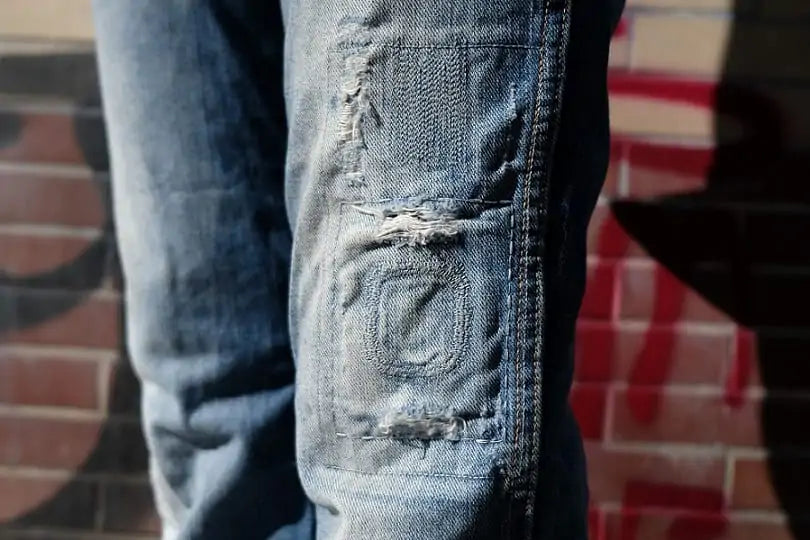

If you want to repair a hole or a torn pair of jeans, there are countless options.
The easiest way is to put a piece of fabric under the patch and then enclose it all around with a simple stitch. Once the piece of fabric is secure, you can start embroidering any decorations and shapes you like. We chose circles in earthy colors; the more you embroider, the more stable your patch will be. For a denim jacket or pants, it is also advisable to use a fabric that is not too fine.
tip2: Turn your old T-shirt into a pillowcase
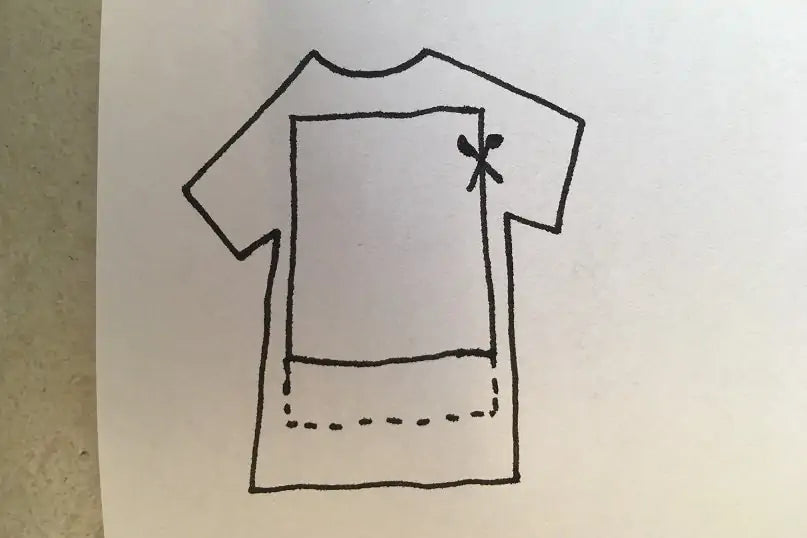
For the pillowcase, turn your T-shirt inside out and draw a square the size of your pillow.
One layer should be a little longer than the others, as this is where the opening of the cover will be later. Now cut everything out with enough seam allowance (min. 1cm).
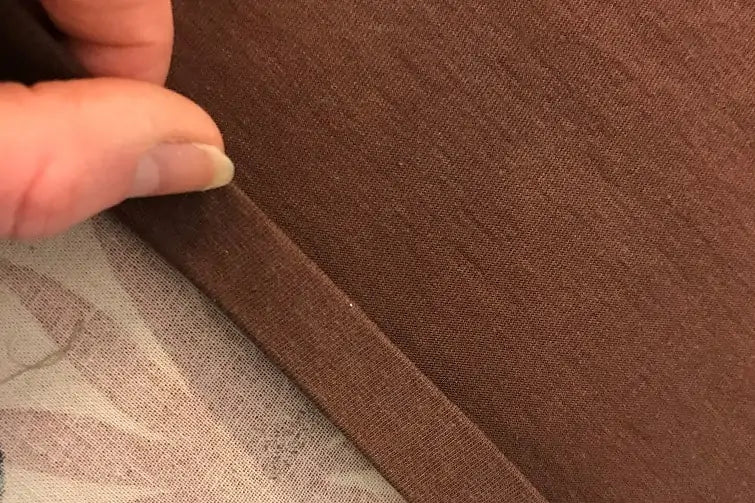
If your pillowcase is in the middle of the T-shirt (see picture 1), you can simply fold the bottom edge inwards twice and stitch it. This will give you a nice edge that won't fray.
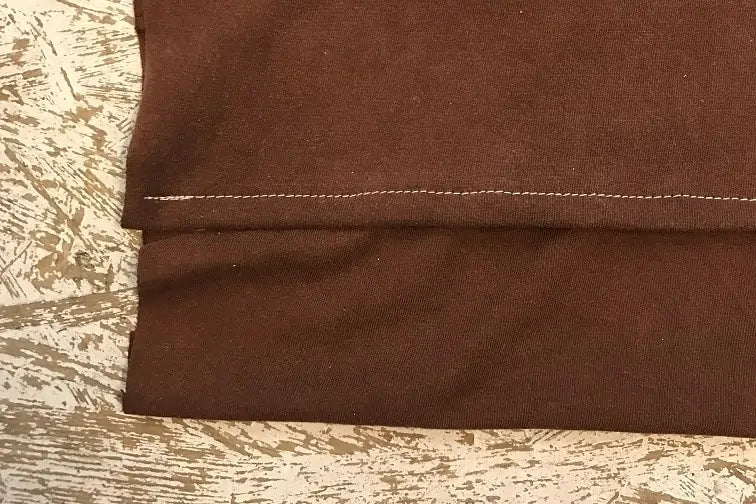
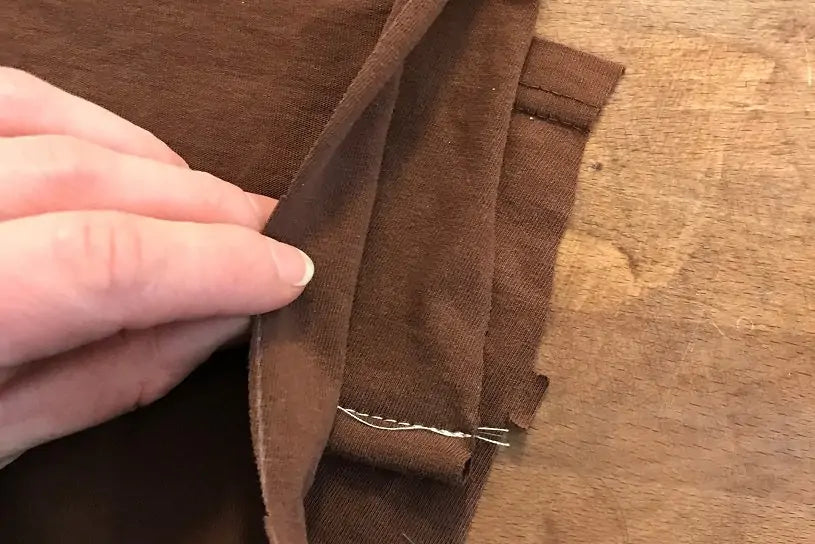
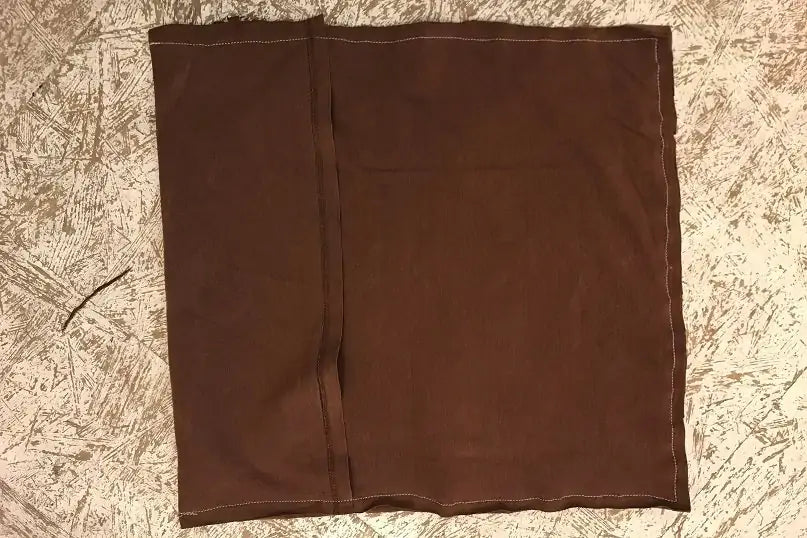
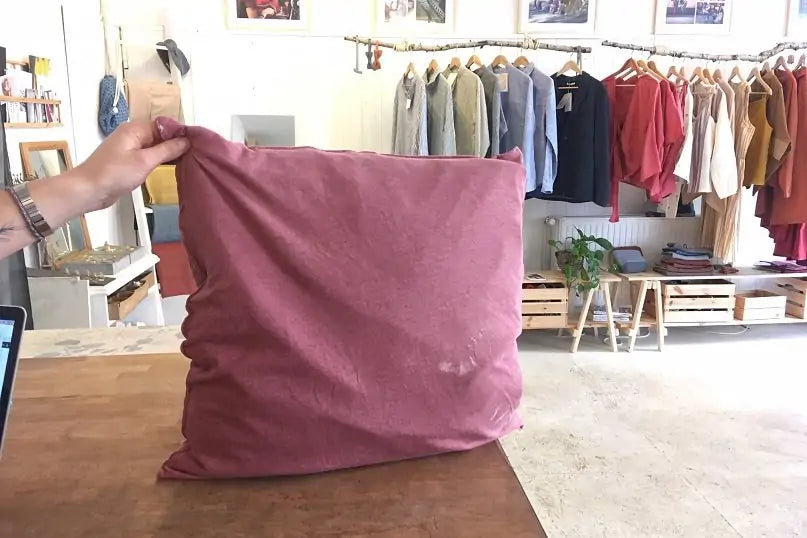
The longer edge now goes into the inside of the cover (images 3+4). To prevent your seams from being visible later, turn the whole thing inside out (image 5). Now you can close the outer edges. If you sew along the left and right sides, you automatically include your longer layer.
tip 3: turn your old t-shirt into a fabric bag
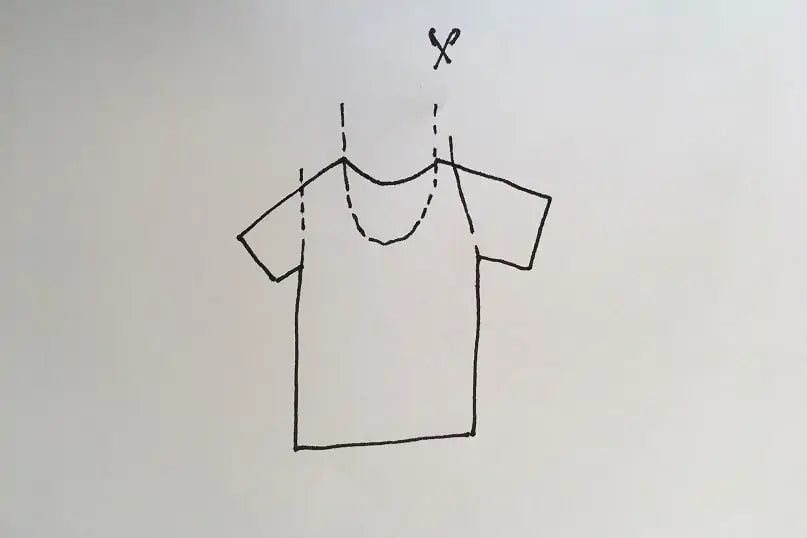
To make the fabric bag from an old T-shirt, first cut off the sleeves and enlarge the neckline.
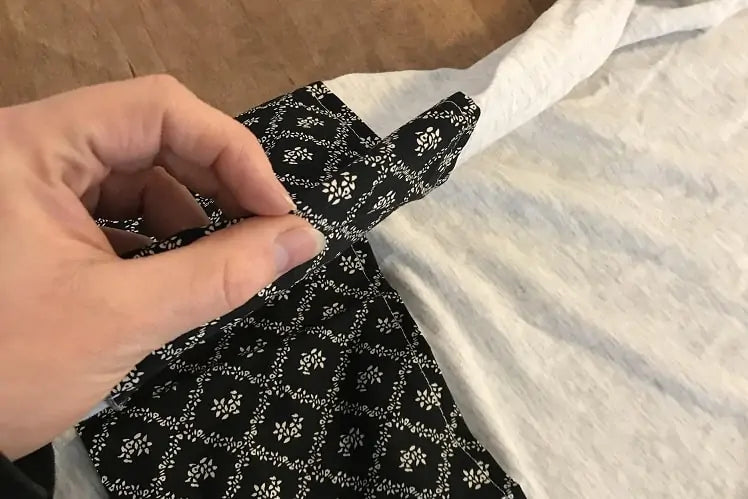
To give the bag a little more stability, we sewed a piece of leftover fabric into the bottom. If you don't have a piece that's long enough, just sew several pieces of fabric together.
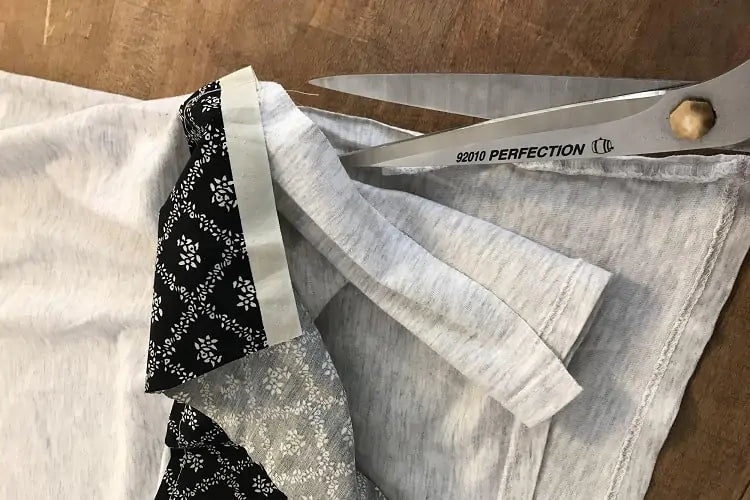
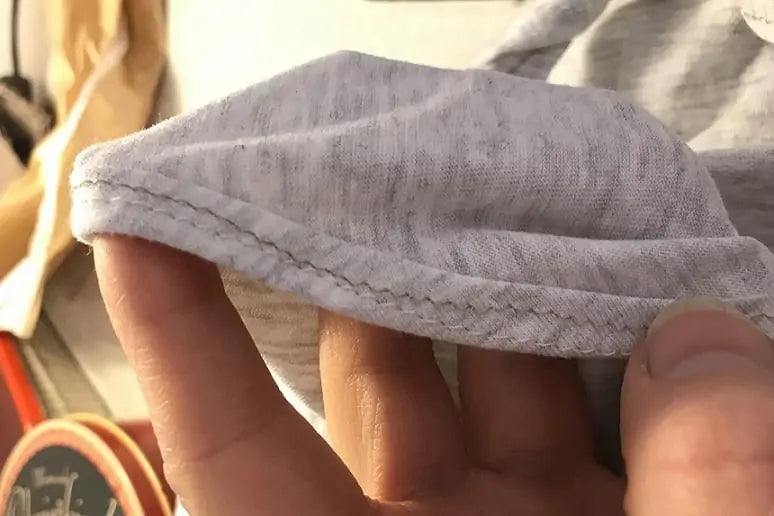

Now fold all open edges twice and stitch them down, turn the bag inside out and close the bottom section.
Turn right side out, done!
For more creative upcycling ideas, check out part 2 :)


